OpenCV——7
25像素重映射
把像素点P(x,y)重新映射到一个新的位置P’(x’, y’)
像素重映射函数
cv.remap(src, map1, map2, interpolation[, dst[, borderMode[, borderValue]]] ) ->dst
•src表示图像
•map1表示x,y方向映射规则,或者x方向映射
•Map2如果map1表示x,y映射时为空,否则表示y
•表示映射时候的像素插值方法 支持:INTER_NEAREST 、NTER_LINEAR 、NTER_CUBIC
1 | #25像素重映射 |
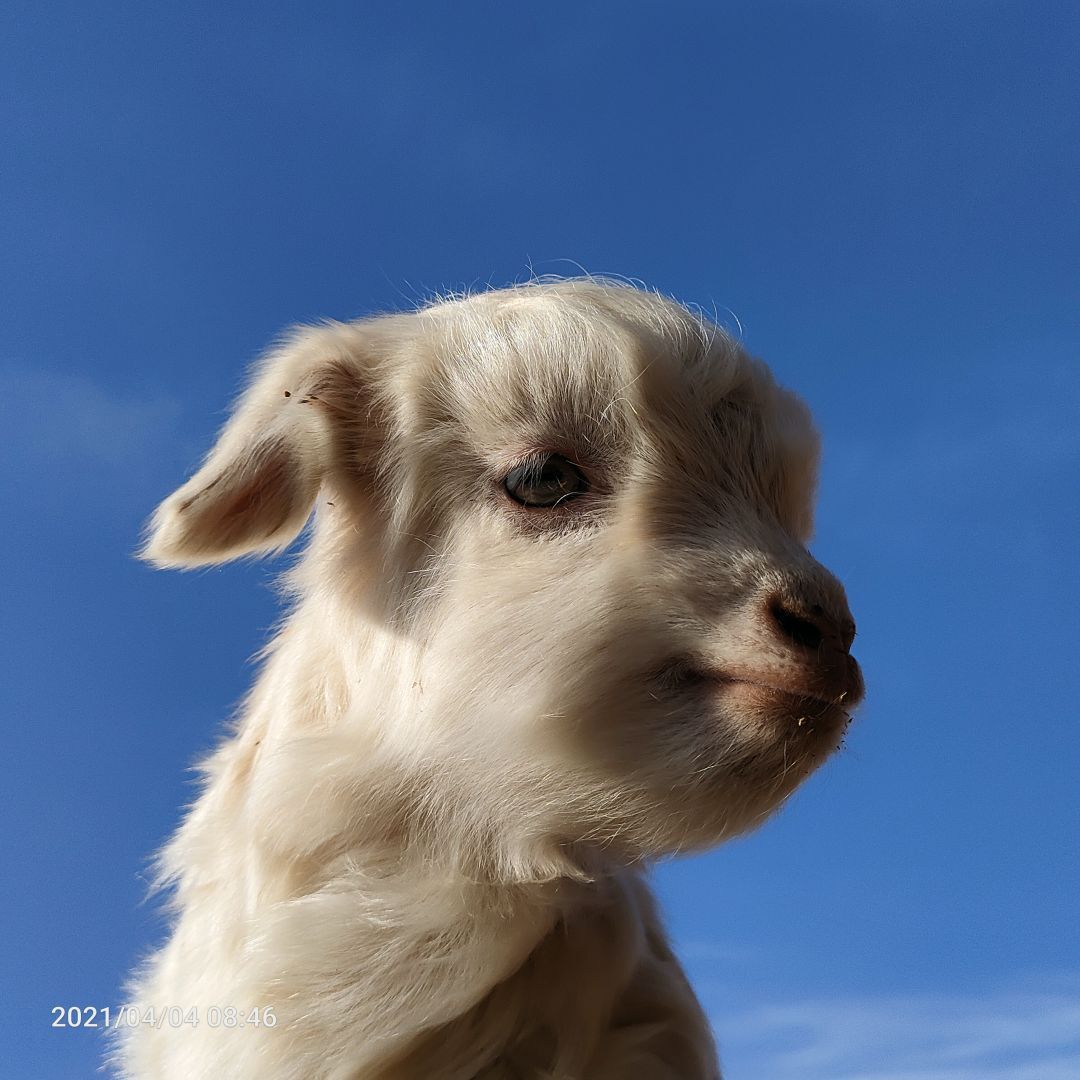
26图像二值化
图像二值化定义
•只有两个像素值0、1(0表示黑色,1-255表示白色),黑色表示背景,白色表示对象(规则)
图像二值化方法
•cv.mean,计算灰度图像均值m
•inRange方法分割
二值化函数
cv.threshold(src, thresh,maxval, type[,dst]) ->retval, dst
src表示输入图像
thresh表示阈值
maxval表示最大值
type表示 二值化THRESH_BINARY 或者 二值化反THRESH_BINARY_INV
retval表示返回阈值,dst返回的二值图像
1 | # 26图像二值化 |
27全局与自适应二值化
全局二值化
(1)大津法(针对两峰):0~5六个灰度级别,根据直方图分布,以每个灰度等级分割直方图分布为两个部分,分别求取均值跟方差,如图示,最小方法差和对应的灰度值为,分割阈值.

(2)三角法(针对单峰)
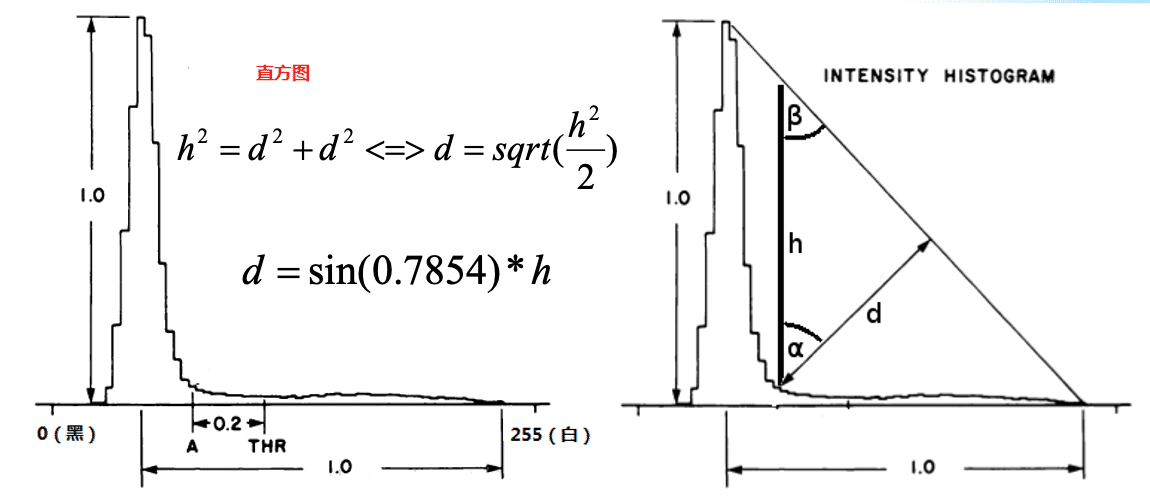
α和β角都为45°,最长的d对应的点偏移0.2即为阈值点。
两种方法都是基于直方图分布
全局二值化函数
cv.threshold(src, thresh,maxval, type[,dst]) ->retval,dst
•type表示二值化
•THRESH_BINARY | THRESH_OTSU 全局自动阈值+二值化(大津)
•THRESH_BINARY | THRESH_TRIANGLE 全局自动阈值+二值化(三角)
•THRESH_BINARY_INV | THRESH_OTSU
表示不同的全局二值化方法
自适应二值化
•模糊图像 D(可以为均值模糊/高斯模糊)
•原图S + 加上偏置常量C
•T = S –D > -C ? 255 : 0
自适应二值化函数
cv.adaptiveThreshold(src, maxValue, adaptiveMethod, thresholdType, blockSize, C[,dst] ) ->dst
•cv.ADAPTIVE_THRESH_MEAN_C 均值
cv.ADAPTIVE_THRESH_GAUSSIAN_C 高斯
•blockSize必须为奇数
•C表示要减去的权重,可以是正数,负数,0
1 | # 27全局与自适应二值化 |
28实时人脸检测
OpenCV4 DNN模块
•来自另外一个开源项目tiny dnn
•OpenCV3.3正式发布
•最新版本OpenCV4.5.5
•支持后台硬件加速机制 CPU/GPU等
•支持多种任务(分类、检测、分割、风格迁移、场景文字检测等)
•只支持推理(模型部署),不支持模型训练
•支持主流的深度学习框架生成模型,OpenCV加载
•推荐使用pytorch/tensorflow
OpenCV人脸检测支持演化
•OpenCV3.3之前基于HAAR/LBP级联检测
•OpenCV3.3开始支持深度学习人脸检测
•支持人脸检测模型caffe/tensorflow
•OpenCV4.5.4 支持人脸检测+landmark
•模型下载地址:
•https://gitee.com/opencv_ai/opencv_tutorial_data
DNN相关函数
•读取模型:readNetFromTensorflow
•转换为blob对象:blobFromImage
•设置输入:setInput
•推理预测:forward
人脸检测显示
•模型输入:1x3x300x300
•模型输出:1xN(张人脸)x7(个数据)
人脸检测框坐标(左上右下) – 后面四个值
预测置信度(score) – 第三个值
class_id(类别) – 第一个值
1 | # 人脸检测 |

